

Bottom Line Up Front: That terrible espresso shot isn’t a lost cause—it’s your coffee beans telling you exactly what needs adjusting. Whether you’re dealing with sour, bitter, weak, or burnt flavors, the solution is usually just one simple tweak away. Master these troubleshooting techniques, and you’ll never have to suffer through another disappointing shot.
Even the most skilled baristas encounter issues from time to time. The good news is that every espresso problem has a solution, often with just a minor adjustment to your grind, dose, timing, or temperature. Here at HydroBrewLab, we’ve troubleshot countless espresso issues through real-world testing, and we’re here to guide you through fixing whatever’s gone wrong with your morning shot.
Pulling the perfect shot of espresso is a satisfying blend of science and art—but when things go wrong, it can feel more like chemistry gone bad. Don’t be afraid to experiment, because understanding what causes these flavor problems is the first step toward brewing consistently exceptional espresso.
Disclosure: As an Amazon Associate, HydroBrewLab earns from qualifying purchases. We only recommend products we’ve thoroughly tested and believe provide genuine value to our community. Your support helps us continue providing unbiased, data-driven reviews.
The Science Behind What You’re Tasting
Before diving into solutions, let’s understand what’s actually happening during extraction. When hot water hits your coffee grounds under pressure, it dissolves various compounds at different rates. Acids like chlorogenic acid extract first, followed by sugars and oils, and finally bitter compounds like tannic acid from the outer shell of the bean.
This extraction sequence explains why timing is so critical:
- 0-10 seconds: Primarily acids (sour flavors)
- 10-25 seconds: Balanced sweet and acidic compounds (ideal extraction window)
- 25+ seconds: Bitter compounds dominate (over-extraction territory)
The Chemistry of Flavor Problems:
- Sour shots indicate under-extraction—you’re stopping before the sugars and oils can balance the acids
- Bitter shots signal over-extraction—you’ve pulled too many harsh compounds from the coffee
- Weak shots suggest poor resistance, allowing water to rush through without proper extraction
- Burnt shots typically result from excessive heat breaking down desirable compounds
Quick Visual Diagnosis Reference
Your espresso’s appearance tells a story before you even taste it:
Sour/Under-extracted Shots:
- Gushes out in under 15 seconds
- Pale yellow, thin liquid
- Bubbly, rapidly dissipating crema
- Dry, powdery puck after extraction
Bitter/Over-extracted Shots:
- Slow pour taking 45+ seconds
- Very dark brown, thick liquid
- Dense, dark crema
- Soggy puck with standing water
Weak Shots:
- Fast pour with little resistance
- Light color and thin body
- Minimal crema formation
- Loose, under-compressed puck
Burnt Shots:
- Normal timing but harsh, charred taste
- Often from temperature or bean issues
- May show normal visual characteristics
The Sour Espresso Fix: When Your Shot Tastes Like Lemon
What’s happening: Under-extraction occurs when water runs through the coffee puck too quickly, meaning the delicious oils and sugars aren’t being extracted—only the acids that extract first.
The Complete Sour Fix Protocol
Step 1: Grind Finer (Primary Solution) Start here—this is your most powerful tool for fixing sour espresso. When your grind is too coarse, water flows through too quickly, preventing proper extraction of oils and sugars.
- Adjust your grinder 1-2 clicks finer
- Stick to around 0.8mm fine grinds for espresso
- Test with small adjustments—too fine and you’ll swing into bitter territory
- Look for a 25-30 second extraction time as your target
Step 2: Increase Your Coffee Dose More coffee creates more resistance, slowing down the water flow:
- Add 1-2 grams more coffee to your portafilter
- Standard starting point: 18-20 grams for a double shot
- Maximum effective dose: Usually 22-24 grams before diminishing returns
Step 3: Perfect Your Distribution and Tamping Poor distribution is one of the biggest causes of channeling, which can create sour spots in your espresso. Even if your overall extraction is correct, channeling creates uneven flow.
Proper Distribution Technique:
- Use the Weiss Distribution Technique (WDT) to break up clumps
- Gently tap the portafilter sides 2-3 times to settle grounds
- Level the surface before tamping
Tamping Essentials:
- Apply 30 lbs of pressure consistently and keep the tamp perfectly level
- Use your thumb and forefinger to gauge if the tamper is level with the basket rim
- Start with 15 lbs pressure to form the initial puck, then increase to 30 lbs
Step 4: Check Water Temperature
- Don’t let your water temperature fall under 197°F
- Ideal range: 195-205°F (90-96°C)
- Too cool and you won’t extract properly
- For lighter roasts, aim for the higher end of this range
Step 5: Verify Your Coffee-to-Water Ratio
- Target ratio: 1:2 (18g coffee to 36g liquid output)
- Aim for 18 grams of coffee in, 36 grams of espresso out in 25-30 seconds
- Adjust yield if timing is correct but flavors are still sour
Essential Grinders for Consistency
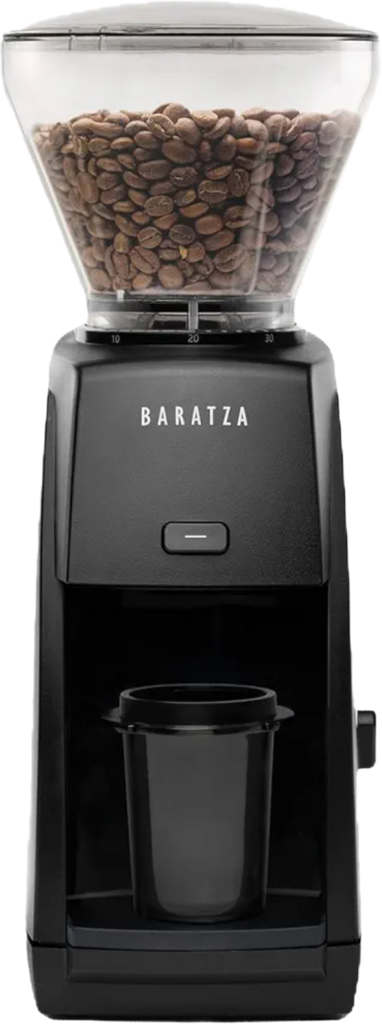
Baratza Encore ESP Coffee Grinder 4.4/5 stars View on Amazon Specifically designed for espresso with 40 grind settings and the M2 burr set that delivers exceptional uniformity. The simple interface makes micro-adjustments effortless for dialing in that perfect extraction.

OXO Brew Conical Burr Coffee Grinder 4.5/5 stars
View on Amazon Great value option with 15 grind settings and a static-fighting container. The one-touch start timer and UV-blocking hopper make this perfect for home espresso enthusiasts.
Fellow Opus Conical Burr Coffee Grinder 4.7/5 stars View on Amazon All-purpose electric grinder with 41 settings that excel from espresso to cold brew. The anti-static design and precise grinding make this a versatile workhorse for any coffee preparation method.
The Bitter Espresso Solution: Taming Harsh, Astringent Shots
What’s happening: Over-extraction occurs when water contacts the coffee grounds for too long or at too high a temperature, pulling out bitter compounds like tannic acid from the outer shell of the bean.
The Complete Bitter Fix Protocol
Step 1: Grind Coarser (Primary Solution) When your grind is too fine, water takes too long to pass through the grounds, resulting in over-extraction and bitter flavors.
- Move to a coarser setting to speed up water flow
- This reduces the density and contact time between water and coffee
- Make small adjustments—dramatic changes can overcorrect
- Target that 25-30 second extraction window
Step 2: Reduce Your Coffee Dose Sometimes less is more:
- Try 1-2 grams less coffee
- Less coffee = less resistance = faster extraction
- Don’t go below 15 grams for a double shot
- Monitor your yield to maintain proper ratios
Step 3: Master Extraction Timing Don’t brew espresso shots for longer than 45 seconds—this leads to high risk of tannic acid from coffee beans leaking into your drink.
- Stop your shot before 45 seconds—ideally between 25-30 seconds
- Watch for the “blonde” color change and stop immediately when you see it
- This light-colored liquid is almost pure caffeine and adds harsh bitterness
- If you want stronger coffee, use a larger basket rather than over-extracting
Step 4: Temperature Control
- Ensure your water temperature stays under 205°F
- Try 195-200°F for dark roasts
- Use 200-205°F for lighter roasts
- High temperatures extract bitter compounds more aggressively
Step 5: Equipment Maintenance Coffee residue and oil buildup makes espresso taste bitter. Regular cleaning is essential:
- Run a cleaning cycle or backflush your machine weekly
- Clean your portafilter and group head daily
- Descale according to manufacturer recommendations
- Replace water filters regularly
Professional Cleaning Arsenal

Urnex Cafiza Espresso Machine Cleaning Powder 4.6/5 stars View on Amazon Professional-grade cleaner that removes coffee oils and residue causing bitter flavors. NSF certified and safe for all espresso machines. Regular cleaning with Cafiza is crucial for maintaining consistent, clean-tasting espresso.
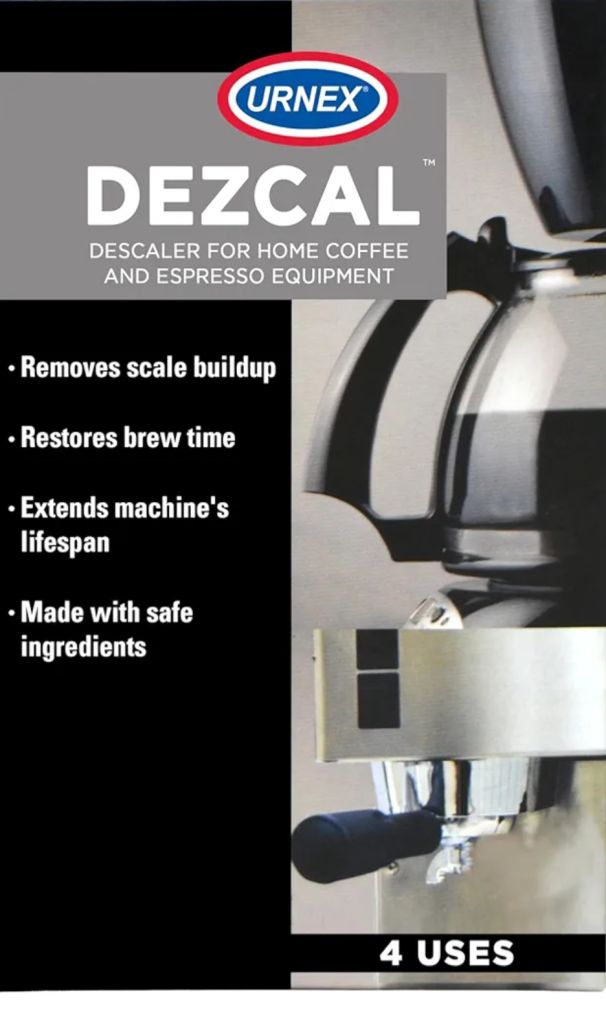
Dezcal Activated Scale Remover 4.5/5 stars View on Amazon Specifically formulated for espresso machine descaling. Removes mineral buildup that can affect temperature stability and water flow, both critical factors in preventing bitter over-extraction.
The Weak Espresso Revival: Building Body and Strength
What’s happening: Your shot lacks body, crema, and that rich espresso intensity you’re craving. This usually indicates insufficient resistance during extraction.
The Complete Weak Fix Protocol
Step 1: Increase Coffee Dose Strategically
- Add 2-3 grams more coffee to your basket
- More coffee = more flavor compounds to extract
- Try 20-22 grams for a double shot
- If you want stronger coffee, get a bigger basket (22g-28g) rather than over-extracting a smaller dose
Step 2: Fine-Tune Your Grind
- Grind slightly finer to create more resistance
- Slow down the pour to hit that 25-30 second extraction time
- Monitor the flow—it should be steady like warm honey
- Make incremental adjustments until you hit the sweet spot
Step 3: Upgrade Your Portafilter Basket Standard baskets often have irregularly spaced holes that cause uneven extraction:
- VST or IMS precision baskets improve consistency
- They create more uniform water distribution
- Better extraction efficiency means more flavor from the same dose
- Consider this upgrade if you’re serious about espresso quality
Step 4: Check Bean Freshness and Quality
- Use coffee roasted 1-3 weeks ago for optimal extraction
- Beans that are too fresh (under a week) can taste sour as they haven’t had time to degas
- Stale beans (over a month) won’t extract properly
- Store beans in airtight containers away from light and heat
Step 5: Verify Your Brewing Ratio
- Target 1:2 ratio (18g coffee to 36g liquid)
- For stronger espresso, try 1:1.5 ratio (18g to 27g liquid)
- Adjust yield first, then timing if needed
- Track your ratios for consistency
Precision Portafilter Tools

IMS Competition Series Precision Basket 4.8/5 stars View on Amazon These precision-holed baskets improve extraction consistency and shot quality. The uniformly spaced holes ensure even water distribution for balanced flavors and superior crema formation.

Normcore 58mm Precision Extraction Basket 5.0/5 stars View on Amazon Precision-engineered hole placement optimizes water flow and extraction efficiency. These professional-grade baskets feature uniform hole distribution that eliminates dead spots and improves overall shot consistency for home baristas.
The Burnt Flavor Fix: Cooling Down Harsh, Charred Notes
What’s happening: Either your water temperature is too high, your beans are over-roasted, or you’re extracting for too long, causing desirable compounds to break down.
The Complete Burnt Fix Protocol
Step 1: Temperature Management
- Ensure your water temperature stays under 205°F
- Try 195-200°F for dark roasts
- Use 200-205°F for lighter roasts
- Some machines run hot—verify with a thermometer if possible
Step 2: Bean Selection and Storage
- Try different bean roasts because darker roasts naturally have a bitter flavor profile
- Look for medium or medium-dark roasts instead of dark
- Ensure beans aren’t over 21 days past roast date
- Avoid beans with oil on the surface (sign of over-roasting or age)
Step 3: Milk Preparation (For Milk Drinks) Don’t scald your milk—keep steam temperatures between 155-165°F:
- Scorched milk adds burnt flavors to your drink
- Practice your steaming technique for silky microfoam
- Use a thermometer until you develop muscle memory
- Stop steaming before it gets too hot—milk continues cooking briefly
Step 4: Extraction Timing Review
- Aim for 25-30 seconds maximum
- Stop before blonde/light-colored liquid appears
- Over-extracted shots taste burnt and harsh
- If your timing is right but taste is still burnt, focus on temperature
Step 5: Water Quality Assessment Poor water quality can contribute to harsh, burnt flavors:
- Use filtered water to avoid chlorine and mineral interference
- Hard water with high bicarbonate levels can bring out bitter notes even in properly brewed coffee
- Consider water specifically designed for espresso brewing
- Change filters regularly
Temperature Control Tools

Maestri House Espresso Scale with Timer 4.5/5 stars View on Amazon Precise dosing and timing are crucial for consistent extractions. This professional-grade scale helps you nail your coffee-to-yield ratios and track extraction times for repeatable results that prevent over-extraction..
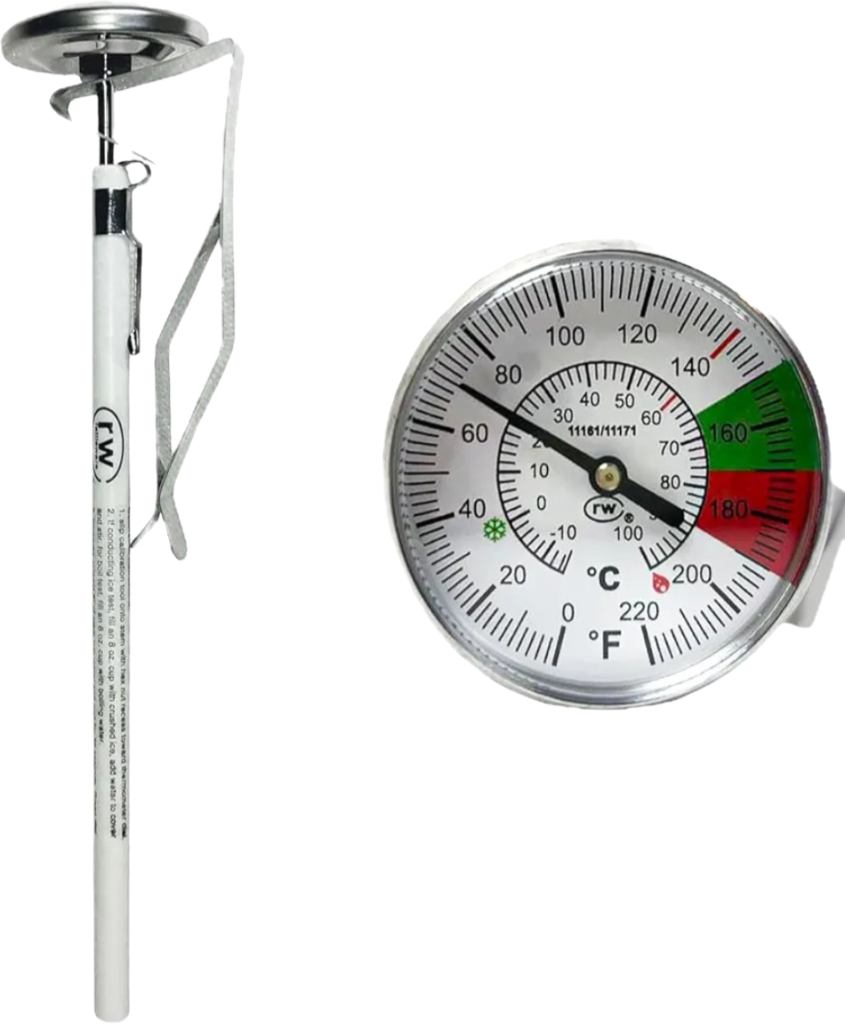
Rattleware Milk Frothing Thermometer 4.4/5 stars View on Amazon Perfect milk temperature is essential for avoiding burnt flavors in milk-based drinks. This clip-on thermometer ensures your milk stays in the optimal 150-160°F range for sweet, creamy texture.
Advanced Troubleshooting: When Basic Fixes Don’t Work
Understanding and Preventing Channeling
Channeling is when water finds weak spots or paths of least resistance through the coffee puck, causing uneven extraction. This creates a mixture of over-extracted (bitter) and under-extracted (sour) flavors in the same shot.
Signs of Channeling:
- Uneven flow from the portafilter
- Light “blonde” streaks in the espresso stream
- Blonding at the beginning and throughout the shot duration
- Inconsistent taste even with identical preparation
The Complete Anti-Channeling Strategy:
1. Master Distribution Techniques The Weiss Distribution Technique uses needles to stir ground coffee and break up clumps that can cause channeling:
- Use a WDT tool with 0.4-0.7mm needles
- Gently stir in figure-8 patterns
- Work from edges toward center
- Break up all visible clumps before tamping
2. Perfect Your Tamping The amount of pressure is not nearly as important as your consistency and ability to keep the tamp perfectly level:
- Use consistent 30lb pressure
- Keep tamper level using finger guides
- Don’t twist or rotate during compression
- Polish with gentle twist to smooth surface after main tamp
3. Check Your Grinder Performance Inconsistent grind size causes density variations that lead to channeling:
- Clean burrs regularly to prevent static buildup
- Calibrate grinder if you notice inconsistency
- Consider upgrading if you have significant fines or boulders
- Single-dose to ensure freshness and consistency
Professional Distribution Arsenal

Normcore Distribution Tool V4 4.7/5 stars View on Amazon Even coffee distribution prevents channeling and ensures uniform extraction. This adjustable tool creates a level bed of grounds for consistent water flow. The depth adjustment allows customization for different doses and basket types.
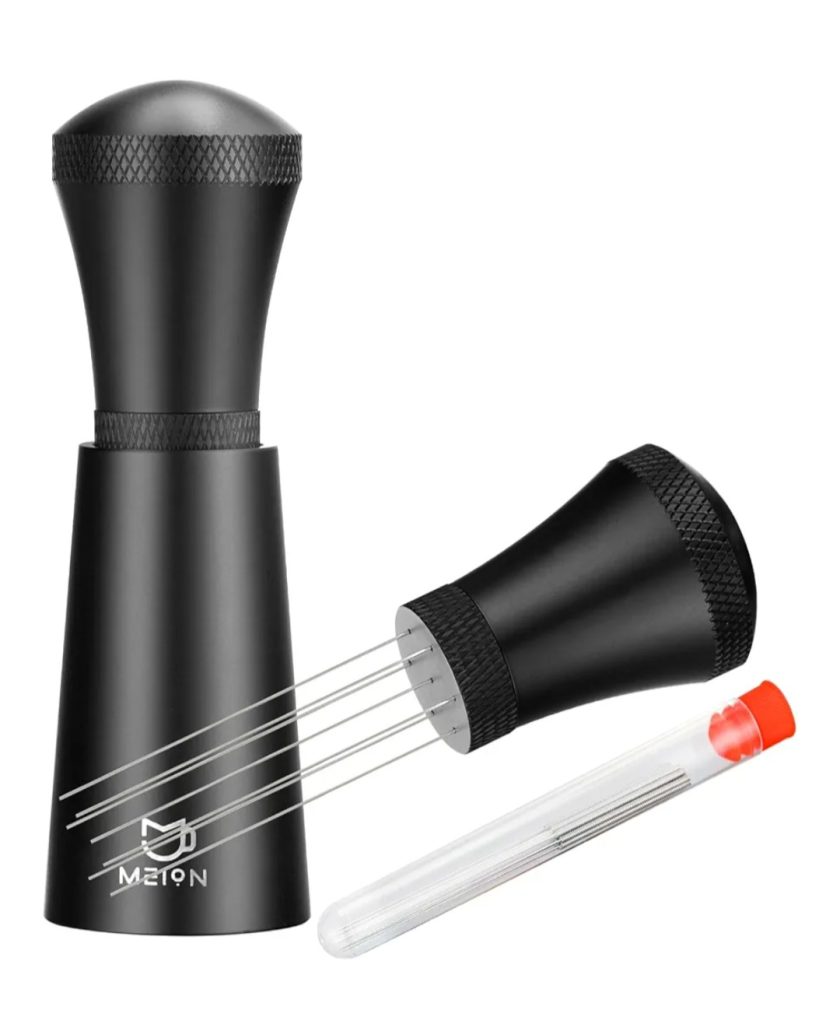
Meion Distribution Tool Espresso Stirrer 4.5/5 stars View on Amazon The Weiss Distribution Technique breaks up clumps and creates even distribution. This precision tool with 0.4mm needles helps eliminate channeling for more consistent shots. The ergonomic handle makes the technique comfortable and repeatable.
Advanced Grinder Calibration
Your grinder is arguably the most important piece of equipment for consistent espresso. Grind size may be the biggest factor that determines your espresso taste.
Calibration Best Practices:
- Start with manufacturer’s baseline settings
- Make single-click adjustments and test
- Keep detailed notes of settings for different beans
- Clean burrs weekly for consistent performance
- Check for burr alignment if you notice asymmetric extraction
Signs Your Grinder Needs Attention:
- Inconsistent extraction despite identical technique
- Excessive static causing uneven distribution
- Wide range of particle sizes (fines and boulders)
- Difficulty achieving proper extraction timing
Professional Grinder Recommendations:
Eureka Mignon Specialita Espresso Grinder 4.7/5 stars View on Amazon Professional-grade stepless adjustment gives precise control over grind size. The 55mm flat burrs deliver exceptional consistency, and the low retention design means fresher shots every time. Hand-built in Italy with a reputation for durability.
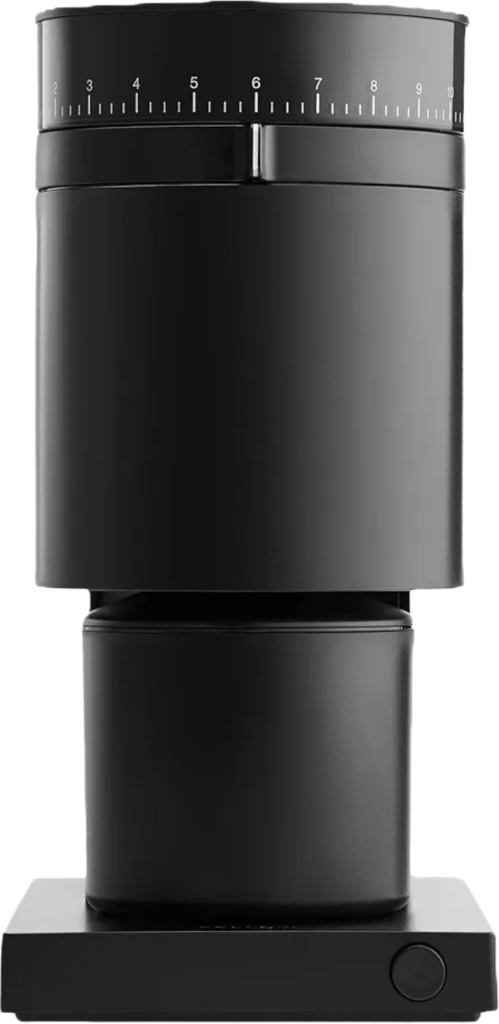
Viesimple Gen 4 Single Dose Grinder 4.6/5 stars View on Amazon True zero-retention grinding means every bean goes directly into your portafilter. The precision burr set produces exceptional uniformity with minimal static, making distribution easier and more consistent.
Water Quality Optimization
Water quality makes a significant difference in coffee flavor, and poor water can bring out bitter notes even in properly brewed coffee.
Ideal Water Specifications for Espresso:
- Total Dissolved Solids (TDS): 150-300 ppm
- Calcium: 50-175 ppm
- Bicarbonate: 40-75 ppm
- pH: 6.5-7.5
- Chlorine: 0 ppm

Water Solutions:
Third Wave Water Espresso Profile 4.6/5 stars View on Amazon Mineral packets designed specifically for espresso brewing. Creates optimal water composition for extraction and flavor balance while protecting your equipment from scale buildup.
Mastering Your Espresso Recipe: The Complete Framework
The Universal Espresso Recipe for Perfect Shots
Start with these scientifically-proven baseline parameters, then adjust based on taste:
Base Recipe:
- Coffee dose: 18-20 grams
- Yield: 36-40 grams liquid espresso (1:2 ratio)
- Time: 25-30 seconds
- Water temperature: 200-203°F
- Grind: Medium-fine (adjust based on results)
Advanced Ratio Adjustments:
- Ristretto (concentrated): 1:1.5 ratio (18g to 27g)
- Normale (balanced): 1:2 ratio (18g to 36g)
- Lungo (extended): 1:2.5 ratio (18g to 45g)
The HydroBrewLab Diagnostic Tests
1. The Two-Cup Test Pull one espresso shot into two cups—first 15 seconds in one cup, remaining 15 seconds in another. The first cup should taste lovely, while the second will be full of bitter, sour, and burnt flavors. This clearly demonstrates how extraction changes throughout the shot.
2. The Consistency Challenge Pull five consecutive shots with identical parameters. If they taste different, focus on:
- Distribution technique improvement
- Tamping consistency
- Dose accuracy
- Grinder calibration
3. The Temperature Test Pull shots at 195°F, 200°F, and 205°F with all other variables constant. This helps you understand your machine’s optimal temperature for your preferred beans.
Professional Tamping Equipment
Proper tamping is crucial for consistent extraction. A great tamper needs proper weight, material, and fit—weight is incredibly important as you need 30 pounds of pressure to properly tamp espresso.

LuxHaus Calibrated Espresso Tamper 4.6/5 stars View on Amazon Calibrated to apply between 29-35 psi for each shot, this tamper takes the guesswork out of consistent pressure application. The ergonomic handle and spring-loaded mechanism ensure perfect tamps every time.
Motta Professional Tamper 4.7/5 stars View on Amazon Italian-made precision with a beautiful wooden handle and weighted stainless steel base. Simple yet expertly crafted design makes tamping effortless while providing professional-grade consistency.
Advanced Brewing Techniques
Pre-Infusion Optimization
Pre-infusion can dramatically improve extraction consistency and reduce channeling:
Benefits of Proper Pre-Infusion:
- Allows coffee to bloom and expand evenly
- Reduces pressure shock that can cause channeling
- Improves overall extraction efficiency
- Enhances flavor clarity and balance
Pre-Infusion Settings:
- Duration: 3-8 seconds depending on dose and grind
- Pressure: 2-4 bars (lower than full extraction pressure)
- Visual cue: Wait for first drops to appear before full pressure
Pressure Profiling for Flavor Control
If your machine allows pressure adjustment, experiment with these profiles:
For Bright, Acidic Coffees:
- Start at 6 bars, ramp to 9 bars over 10 seconds
- Finish at 7 bars for the last 10 seconds
- Emphasizes clarity and brightness
For Dark, Chocolatey Coffees:
- Start at 9 bars immediately
- Drop to 6 bars after 15 seconds
- Reduces bitter extraction while maintaining body
Your Complete Espresso Troubleshooting Toolkit
The Daily Troubleshooting Checklist
For Sour Espresso:
- ✓ Grind finer by 1-2 clicks
- ✓ Increase dose by 1-2g
- ✓ Check water temperature (197°F minimum)
- ✓ Verify distribution technique
- ✓ Ensure level tamping
For Bitter Espresso:
- ✓ Grind coarser by 1-2 clicks
- ✓ Reduce dose by 1-2g
- ✓ Stop shot by 30 seconds maximum
- ✓ Lower water temperature by 2-3°F
- ✓ Clean machine and portafilter
For Weak Espresso:
- ✓ Increase dose by 2-3g
- ✓ Grind slightly finer
- ✓ Consider larger/precision basket
- ✓ Check bean freshness (1-3 weeks old)
- ✓ Verify brewing ratio (1:2 standard)
For Burnt Espresso:
- ✓ Lower water temperature below 205°F
- ✓ Try medium roast instead of dark
- ✓ Reduce extraction time if over 30 seconds
- ✓ Check milk steaming temperature (155-165°F)
- ✓ Assess water quality and filtration
Weekly Maintenance Protocol
Equipment Care:
- Deep clean portafilter and group head
- Backflush with cleaning powder
- Descale according to water hardness
- Clean and calibrate grinder
- Replace water filter if needed
Bean Management:
- Check roast dates and rotate stock
- Store in airtight containers
- Avoid pre-grinding for extended periods
- Note flavor changes as beans age
Beyond the Basics: Professional Tips
Reading Your Espresso Like a Pro
Crema Analysis:
- Thick, golden crema: Good extraction and fresh beans
- Thin, pale crema: Under-extraction or stale beans
- Dark, thin crema: Over-extraction or over-roasted beans
- Bubbly, rapidly dissipating: Poor distribution or stale coffee
Flow Pattern Recognition:
- Steady, honey-like flow: Ideal extraction
- Fast gushing: Too coarse or under-dosed
- Slow dripping: Too fine or over-dosed
- Uneven streams: Channeling from poor distribution
Building Your Palate
Daily Cupping Practice:
- Taste espresso neat before adding milk
- Note flavor changes as temperature drops
- Compare single-origin vs. blend characteristics
- Document preferences and successful parameters
Flavor Wheel Training:
- Learn to identify specific flavor notes
- Practice distinguishing between bitter and sour
- Understand how processing affects taste
- Connect flavors to extraction parameters
Master the Perfect Sip
Espresso troubleshooting is part of the learning curve—and even seasoned baristas still tweak their technique. The secret lies in making small, methodical adjustments and understanding that each variable affects the others. With time, patience, and the comprehensive techniques in this guide, you’ll develop the intuition to diagnose and fix any espresso issue that comes your way.
Remember, every “terrible” shot is actually valuable feedback from your setup. The science is solid, the techniques are proven, and the tools are available—now it’s time to put it all together. Don’t be afraid to experiment, take detailed notes, and most importantly, taste everything. That perfect espresso shot is waiting for you—it just needs the right combination of grind, dose, time, temperature, and technique to unlock its potential.
We test, we compare, we care, and most of all, we listen to the community. These troubleshooting methods are battle-tested in cafes and home kitchens worldwide. Beyond surface-level hype, we focus on what really works: systematic problem-solving that gets you from frustrated to fantastic, one shot at a time.
Ready to level up your espresso game? Start with one adjustment at a time, taste the difference, and build your palate. Before you know it, you’ll be pulling shots that rival your favorite coffee shop—right from your own kitchen. Trust HydroBrewLab to keep your drinks just right, and remember: every expert was once a beginner who refused to give up on the perfect cup.
Back to Coffee and Espresso 101