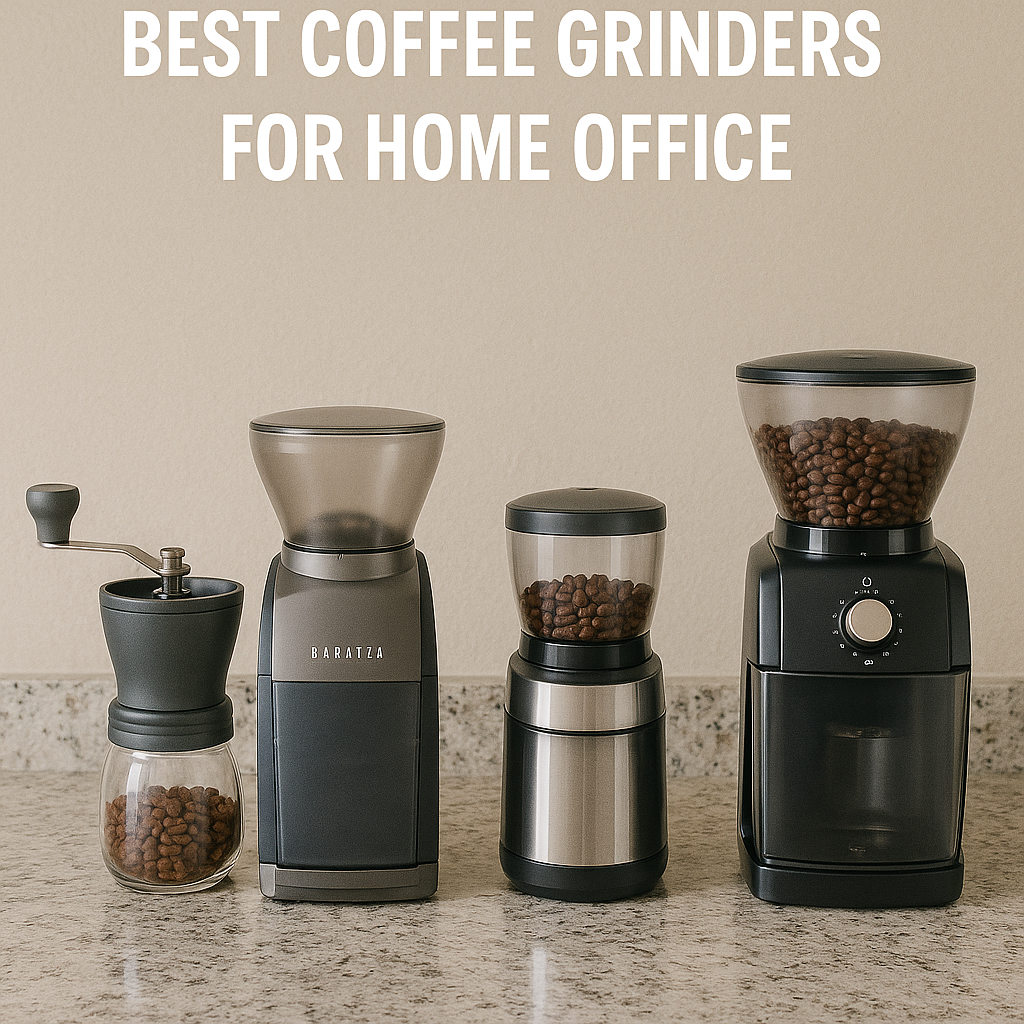
Selecting the right coffee grinder is crucial for achieving the perfect cup, whether at home or in the office. The grind’s consistency and precision directly influence the flavor and quality of your brew. This guide delves into the various types of coffee grinders—blade, burr (both flat and conical), and manual—exploring their mechanisms, advantages, and disadvantages. We’ll also highlight popular, highly-rated models available on Amazon to assist you in making an informed choice.
Disclosure: As an Amazon Associate I earn from qualifying purchases. This post may contain affiliate links.
Blade Coffee Grinders
Blade grinders are often the entry point for many coffee enthusiasts due to their affordability and simplicity. They operate with a central blade that spins rapidly to chop coffee beans into smaller particles, similar to a blender.
How Blade Grinders Work
In blade grinders, a flat, propeller-like blade rotates at high speeds to slice through coffee beans. The fineness of the grind is determined by the duration of grinding—the longer the operation, the finer the grind. However, this method often results in uneven particle sizes, leading to inconsistent extraction during brewing.
Pros:
- Affordability
- Compact design
- Multi-purpose use (spices, nuts, etc.)
Cons:
- Inconsistent grind
- Heat generation
- Limited control over grind size
Hamilton Beach Fresh Grind Electric Coffee Grinder
Amazon Rating: 4.5 out of 5 stars (60,000+ reviews)
Link: Hamilton Beach Fresh Grind Electric Coffee Grinder
This grinder features stainless steel blades and a removable grinding chamber for easy cleaning. Its quiet operation and compact design make it suitable for both home and office use.
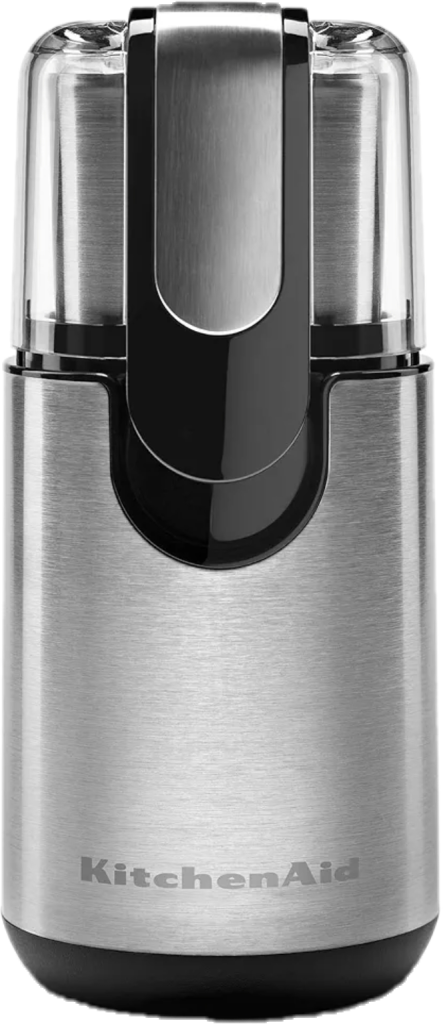
KitchenAid Blade Coffee Grinder
Amazon Rating: 4.4 out of 5 stars (16,500+ reviews)
Link: KitchenAid Blade Coffee Grinder
Equipped with a powerful motor and stainless steel blades, this grinder offers fast and efficient grinding. The clear top cover allows users to monitor consistency.
Flat Burr Coffee Grinders
Flat burr grinders consist of two parallel, ring-shaped burrs with serrated edges. Beans are fed between these burrs and ground to a uniform size. This style is popular for its precise control.
Pros:
- Highly consistent grind
- Adjustable settings
- Suitable for espresso and drip coffee
Cons:
- Larger footprint
- Can be noisy
- Slightly higher heat output

SHARDOR Burr Coffee Grinder
Amazon Rating: 4.5 out of 5 stars
Link: SHARDOR Burr Coffee Grinder
Offering 32 grinding sizes and a 40-second adjustable timer, this grinder caters to various brewing preferences. Its compact design is suitable for home use.

Kaffe Electric Burr Coffee Grinder
Amazon Rating: 4.3 out of 5 stars (7,700+ reviews)
Link: Kaffe Electric Burr Coffee Grinder
Featuring adjustable coarseness settings and a flat burr mechanism, this grinder ensures precision grinding. The automatic on/off function adds convenience.
Conical Burr Coffee Grinders
Conical burr grinders use cone-shaped burrs to grind beans. The beans are fed through the narrow gap between the burrs, resulting in consistent grinding with minimal heat generation.
Pros:
- Even grind consistency
- Less heat buildup
- Quieter operation
Cons:
- More expensive than blade grinders
- Can be harder to clean
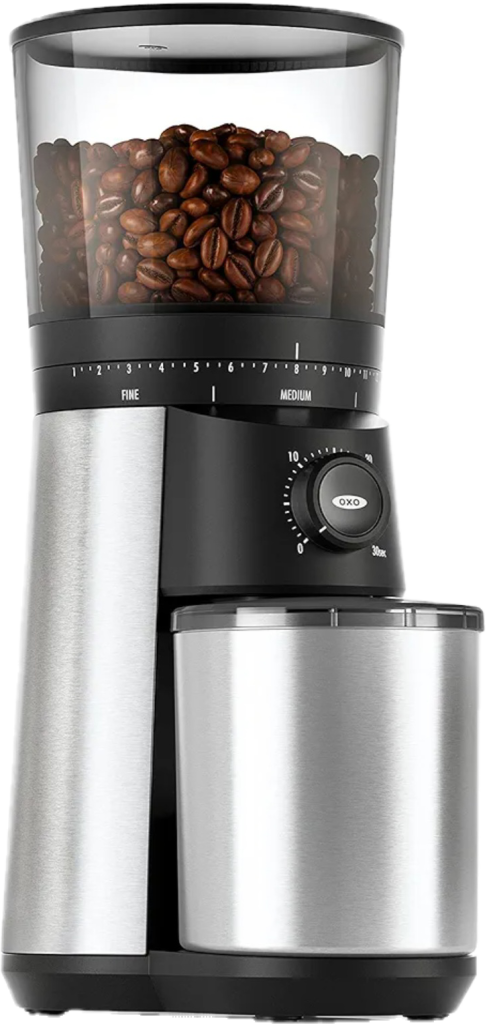
OXO Brew Conical Burr Coffee Grinder
Amazon Rating: 4.3 out of 5 stars (20,800+ reviews)
Link: OXO Brew Conical Burr Coffee Grinder
This grinder offers 15 grind size settings and a one-touch start timer, making it user-friendly. Its conical burrs ensure consistent grinding for various brewing methods.
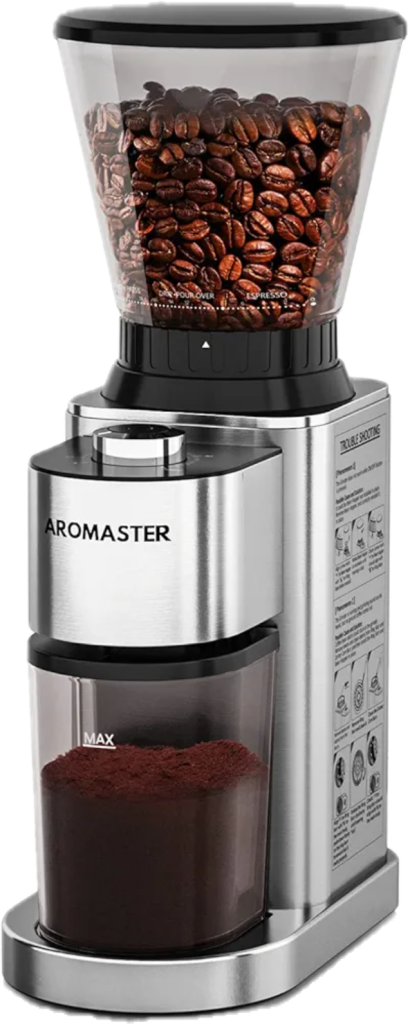
Aromaster Conical Burr Coffee Grinder
Amazon Rating: 4.7 out of 5 stars
Link: Aromaster Conical Burr Coffee Grinder
Built with stainless steel burrs, this grinder offers multiple settings and produces minimal static. It is a top pick for espresso and French press lovers alike.
Manual Coffee Grinders
Manual grinders are a favorite among purists and travelers. They require no electricity, and their grind consistency rivals some electric models.
Pros:
- Portable and quiet
- Affordable and durable
- Great for travel and small kitchens
Cons:
- Time-consuming
- Requires physical effort
- Not ideal for large batches

JavaPresse Manual Coffee Grinder
Amazon Rating: 4.3 out of 5 stars (18,000+ reviews)
Link: JavaPresse Manual Coffee Grinder
This sleek stainless steel grinder has 18 grind settings and a built-in ceramic burr. Compact and travel-friendly, it’s ideal for single-cup brewers and pour-over enthusiasts.

Hario Skerton Pro Ceramic Coffee Mill
Amazon Rating: 4.4 out of 5 stars (3,000+ reviews)
Link: Hario Skerton Pro Coffee Grinder
This Japanese-made grinder features a large glass bowl and improved grind consistency with its ceramic burrs. Its ergonomic handle and durability make it a long-time favorite.
Whether you’re brewing a quick cup at work or dialing in a pour-over at home, choosing the right grinder is essential. Blade grinders offer simplicity, burr grinders deliver precision, and manual grinders give you control and portability. Match your choice to your lifestyle and brewing method, and enjoy better coffee every day.
Head back to Accessories & Workflow Essentials