
Dialing in your coffee bean grinder is one of the most important steps in making excellent espresso. Unlike drip coffee, espresso is incredibly sensitive to grind size, dose, and distribution. Even small changes can mean the difference between a sour shot and a perfectly balanced espresso. Calibrating your coffee bean grinder ensures consistency, flavor, and crema in every cup.
In this guide, we’ll walk through how to properly calibrate your coffee bean grinder for espresso, including the tools you need, how to assess grind size, and how to make precise adjustments.
Why Grinder Calibration Matters
Espresso requires a fine, even grind to extract correctly under high pressure. If the grind is too coarse, water flows too quickly, resulting in under-extraction and sour flavors. If the grind is too fine, it can choke the machine or create bitter, over-extracted shots.
Proper calibration ensures:
- Consistent grind size
- Ideal extraction time (25–30 seconds)
- Balanced flavor and body
- Stable crema
- Minimal channeling or clogs
A well-calibrated coffee bean grinder is the foundation of any high-quality espresso routine.
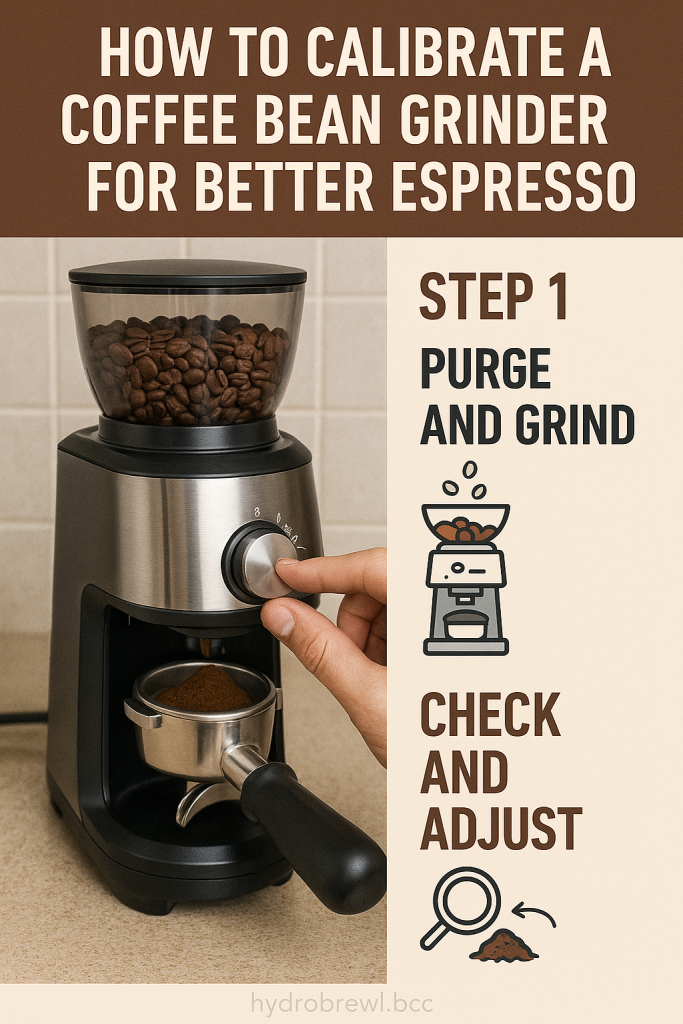
Step 1: Start with Fresh Beans and a Clean Grinder
Before calibrating, clean your grinder and start with fresh, medium to dark roasted beans:
- Use beans roasted within the past 2–4 weeks.
- Avoid oily beans that can gum up the burrs.
- Empty old grounds from the chamber and clean the burrs with a brush or vacuum.
Clean equipment ensures your adjustments reflect real changes in grind size—not residual buildup or stale grounds.
Step 2: Understand Your Grinder Settings
Most espresso grinders fall into two categories:
- Stepped Grinders: Use preset clicks or notches to adjust grind size.
- Stepless Grinders: Allow for continuous adjustment, offering more precision.
Familiarize yourself with your grinder’s controls and how to adjust finer vs. coarser:
- Turning the dial toward “fine” will slow the shot and increase resistance.
- Turning the dial toward “coarse” will speed up the shot and reduce resistance.
Mark your starting point with a piece of tape or marker for easy reference during calibration.
Step 3: Dial In Your Grind Size
This is where the real calibration begins. You’ll be pulling test shots and adjusting based on extraction time and visual cues.
Pull a Test Shot
- Weigh out 18–20g of coffee (depending on your basket).
- Tamp consistently and evenly.
- Start your shot and time the extraction.
Analyze the Shot
- If the shot finishes in under 20 seconds, the grind is too coarse.
- If the shot takes longer than 35 seconds, the grind is too fine.
- Aim for a 25–30 second shot time for double espresso (36–40g yield).
Adjust and Repeat
- If too fast: adjust finer in small increments.
- If too slow: adjust coarser.
Let the grinder run for a few seconds after each change to purge the old grind.
Step 4: Evaluate Taste and Texture
Don’t rely on timing alone—taste your espresso.
- Sour? Under-extracted, likely too coarse.
- Bitter? Over-extracted, likely too fine.
- Flat or dull? Could be stale beans, uneven tamp, or incorrect dose.
A great espresso should be sweet, balanced, and full-bodied with a golden crema.
Step 5: Lock in Your Settings and Monitor Consistency
Once you’ve found the sweet spot:
- Take note of your grind setting, dose, and yield.
- Use a notepad or app to track changes when switching beans.
- Calibrate again when you get new beans or notice a drop in shot quality.
Environmental factors like humidity and temperature can also affect grind behavior—especially with fresh beans—so small tweaks may be needed.
Final Tips for Grinder Calibration
- Purge between adjustments: Always run the grinder for a few seconds after changing settings to avoid mixing grinds.
- Use a scale and timer: Precision matters when calibrating—consistency is key.
- Warm up your machine: Pull a few blank shots before testing to stabilize temperature.
- Keep your grinder clean: Monthly cleaning with grinder-safe pellets or a dry brush helps maintain accuracy.
- Recalibrate for new beans: Each roast behaves differently. Start over when switching to a new origin or roast profile.
With careful calibration, your coffee bean grinder becomes a tool of precision and power—one that helps you unlock the best flavors your beans have to offer. Once you’ve dialed it in, you’re on the path to espresso excellence.
Head back to Accessories & Workflow Essentials